Strictly speaking, the answer is no. With 16 GB of RAM on this MacBook Pro, the original 250GB Toshiba hard disk was barely being touched. When upgrading the entire MacPorts collection, or building a new version of Perl, I could just start those, and switch to my Remote Desktop or SSH window, and ignore the fan kicking in etc. So, there was no pressing need, per se.
But, there were some gift certificates languishing in my Amazon account. I did consider going with the roomy, dual-platter 7K1000, but I don’t store much on this laptop, and the prospect of just another hard drive was not exciting enough to motivate me to learn how to do the upgrade.
Then came Crucial’s MX100 with a 512GB model at a really nice price point on Amazon. Now, as a straight replacement, the 256GB drive would have been even cheaper, and would have offered similar performance in my case, because this clunker’s SATA interface taps out at 3Gbps, which comes to about 384MB/s, at most. According to some reports, the 512GB drive is faster than the 256GB one, because, you know, number of chips or something.
In the end, I went with the 512GB drive, because, again, swapping the original drive with something of the same size just didn’t seem worth the effort.

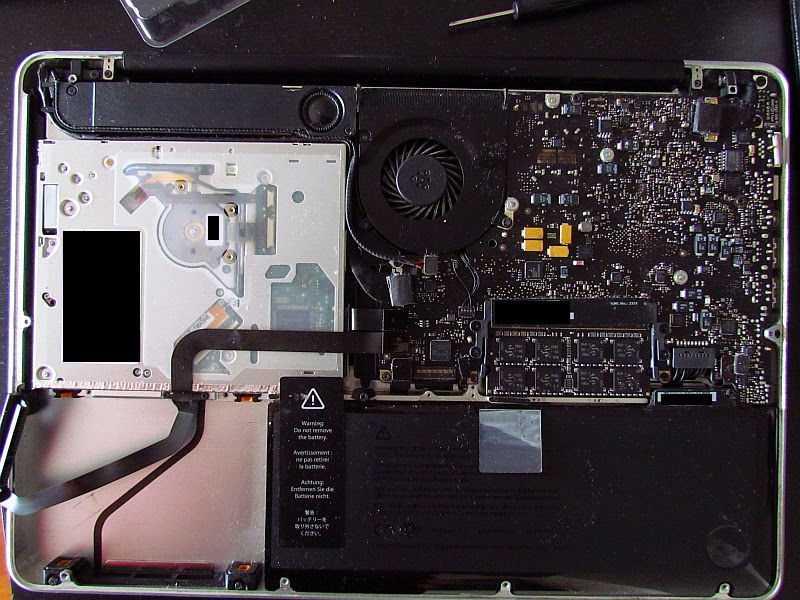
The physical aspect of removing the covers, getting the original drive out etc is very straightforward on this machine. Of course, I skipped the excellent instructions first, and completely missed the fact that I had to transfer the screws on the sides of the original drive to the SSD. I was quite confused when everything was really wobbly. At least, this gave me the opportunity to really clean some remaining stains from the 20oz cup of coffee that spilled on the keyboard, and just got everywhere inside, last Christmas.
Sigh!
You might have guessed that I have a bit of cavalier attitude towards hardware … For example, I have never owned a static wrist strap, much less seen one. So, don’t do as I do if you are the more serious, reasonable to type of person. Follow all the good practices I did not follow.
The moment I had my hands on the MX100-512GB, I opened the cover, removed the original drive, put in the SSD. I inserted the original hard drive in my trusty Thermaltake docking station, turned the power on, kept pressing the option key until the boot medium selection came up. I booted from the recovery partition on the original drive via USB.
This is where I made a mistake.
I had earlier asked if there is a canonical guide to transferring the contents of your original system disk to a new one. See, I am not interested in making a backup. I have the original disk, I want to transfer its contents, including the EFI and recovery partitions to a new, larger disk.
It turns out, Apple’s graphical disk utility does not show you any of those partitions, but creates them automatically. So, when you chose the so-called “1 partition” layout, you actually get three.
Being the literal person I am, in my first attempt, I actually reserved about 2 GB for that other stuff, figuring I would solve that riddle after programs & data had finished transferring.
I was surprised to find everything had been taken care of behind scenes (good thing) without any indication that they would be (typical Apple attitude which also labels burger-flippers “geniuses”).
I just could not bring myself to accept that I had basically wasted perfectly good 2 GB of space right out of the gate, and, of course, instead of letting things be, I had to, I mean, just had to, repartition using the “1 partition” layout, and do the whole copy again.
Does anyone know why the disk utility takes so much more time than dd? Going from the 400 GB drive on my beloved Lenovo to the 750 GB drive, using fdisk and dd in ArchLinux, dealing with several partitions etc took much less time, including all the fiddling.
The drive is rather quick. I tested sequential reading a bit with some VirtualBox disk images etc, and got close to 300 MB/sec which is rather impressive considering the limitation on the interface speed imposed by the MCP89. Boot time has been much reduced (didn’t measure, just noticed it because I had to reboot a few times). In general, stuff happens much faster. If you are interested, here is a review I found helpful.
I did not manually patch any kernel files to turn OSX Mavericks TRIM support on for this drive. Based on what I have read, the drive’s garbage collection should be good enough. I did disable last access time, and the sudden motion sensor.
My rotational hard drives have been extremely good to me over the years. But, with this SSD, I decided to actually enable Time Machine for the first time, just in case this thing goes the way of many a USB flash drive.